
biscuit-making 101: lesson one
it makes sense to start with the tools you'll need. nothing too fancy.

biscuit-making 101: the tools
you did it! you took the first step towards being a biscuit-making master.
there's nothing quite like the satisfaction that comes from taking a bite out of a freshly baked biscuit, warm and flaky, straight out of the oven. and, with a few essential tools and some expert tips, you, too, can create delicious homemade biscuits in the comfort of your own kitchen.
In this series, I will share everything you need to know about biscuit making, starting with the essential tools required for success.
basic tools for baking:
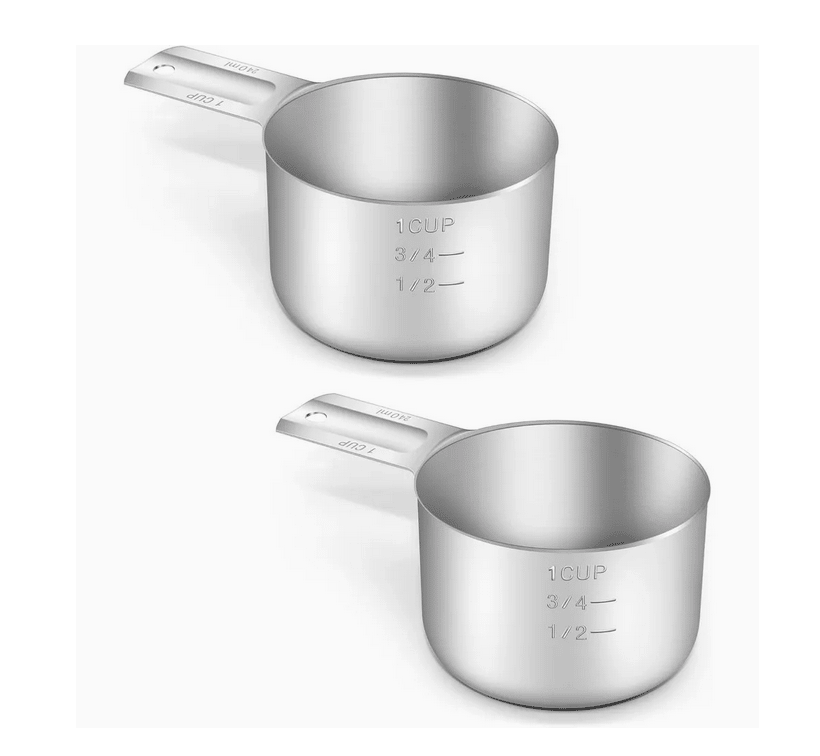
measuring cups and spoons - used to ensure precise ingredient measurements. try your best to measure exactly, but biscuits are a forgiving baked good. don't stress yourself out over non-sifted vs. sifted flour or whether or not you leveled the measuring spoons. a little (a few teaspoons) extra flour or buttermilk won't completely ruin your biscuits.
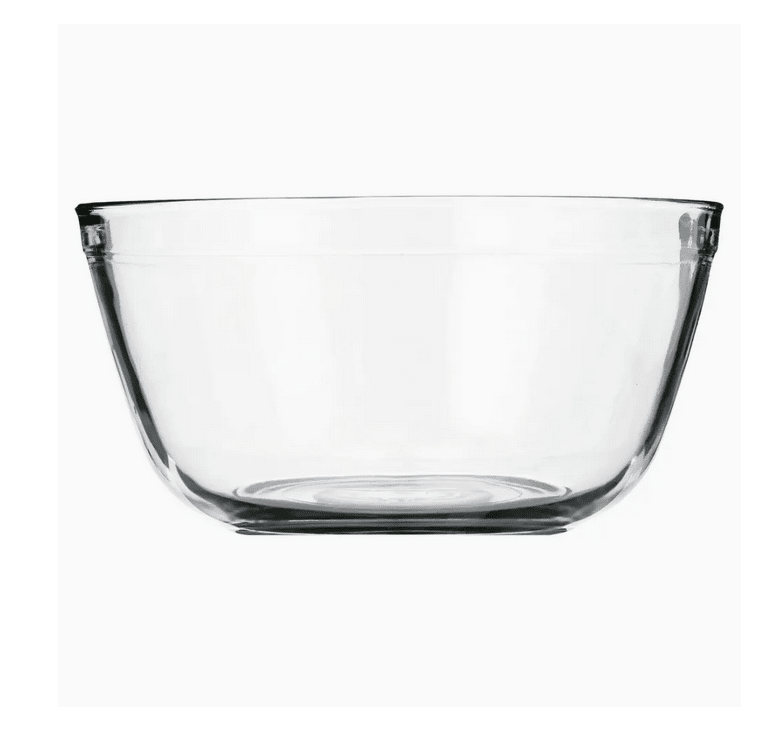
mixing bowls - to provide ample space for mixing up your biscuit dough
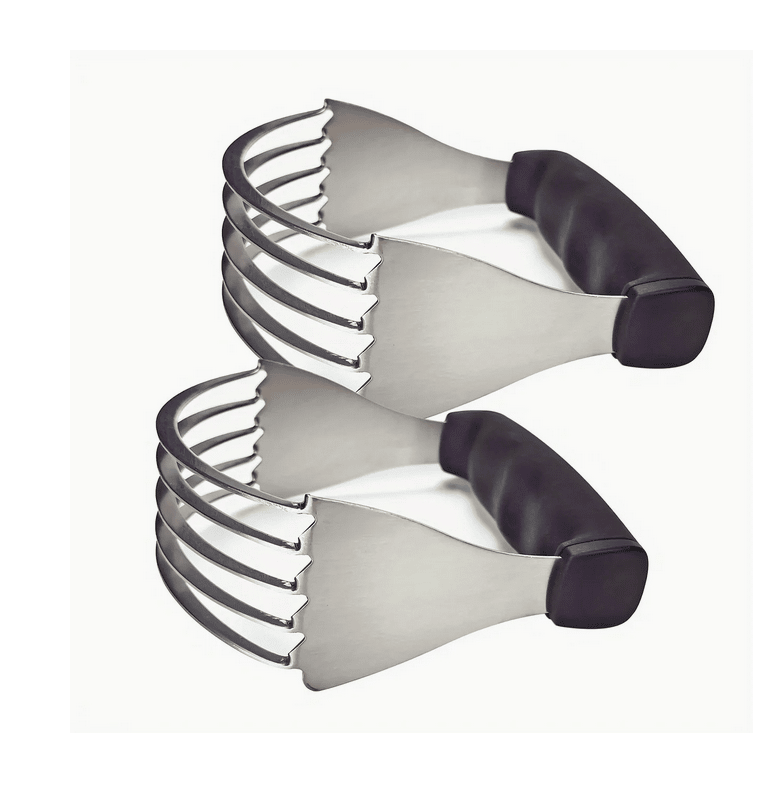
pastry cutter - this is a tool that cuts the butter into the flour mixture; a regular fork and even your fingers can be used for instead of a pastry cutter, but to reduce effort and the contact your warm hands make with the cold dough, this tool is used.
basic | (these are all pretty much the same so a premium pastry cutter is barely necessary, there are different styled handles - rubber, wood, etc. so your decision could be based on comfort & aesthetics)
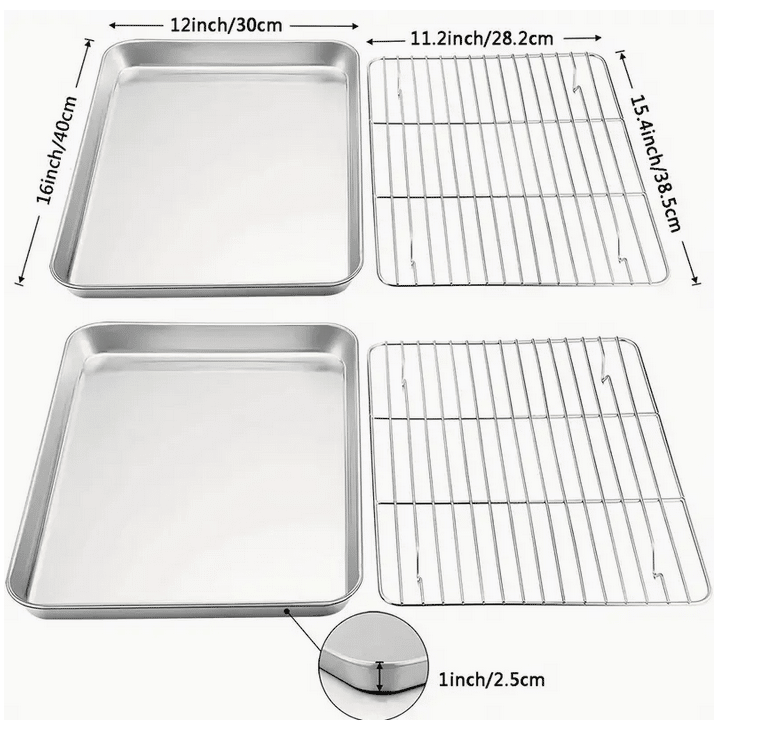
baking sheet - a metal pan with little-to-no sides, used for baking your biscuits. NOTE: darker metal pans will bake the biscuits a little faster than a lighter-colored pan. adjust your baking time by a few minutes based on what type of pan you're using. baking for 20-22 minutes for a darker pan and 22-25 minutes for lighter pans is a good place to start.
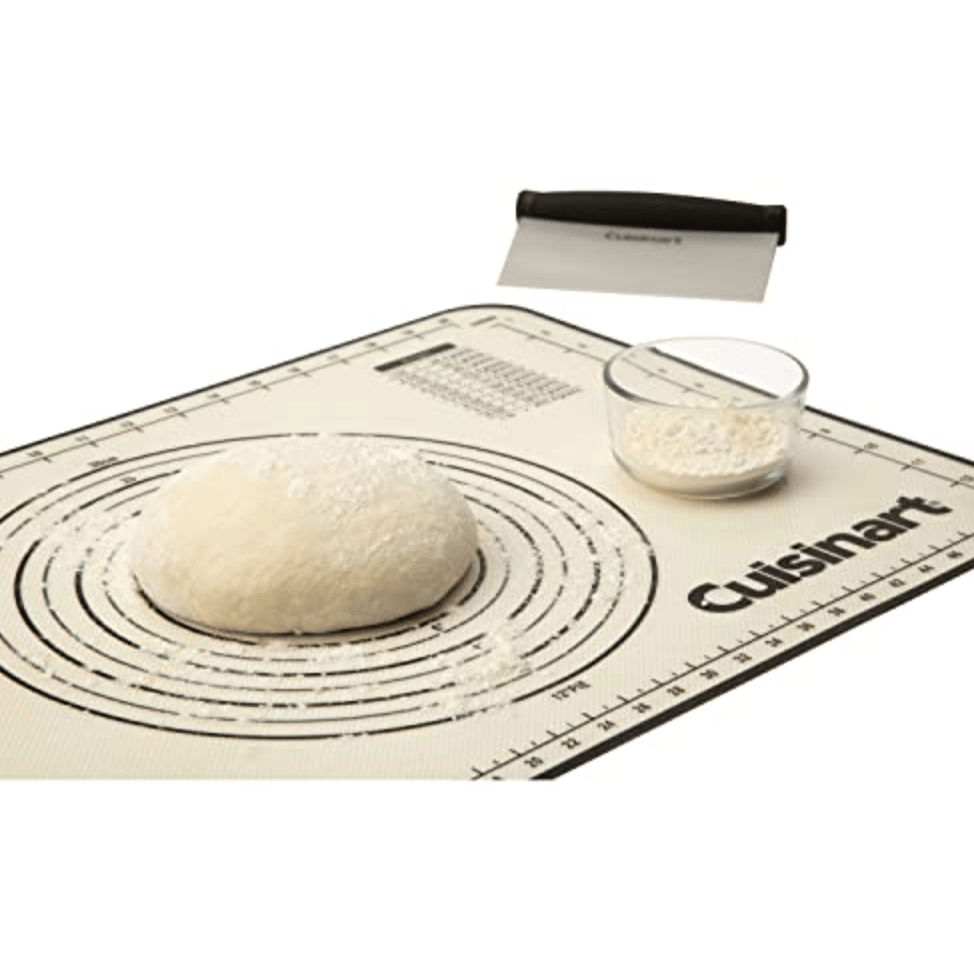
a clean surface - key to keeping the biscuit dough free from any debris. you can use a clean countertop, secure a piece of parchment paper to the counter or use a non-slip rubber or silicone prep mat to prep your biscuit dough before baking.
specialty tools for baking biscuits:
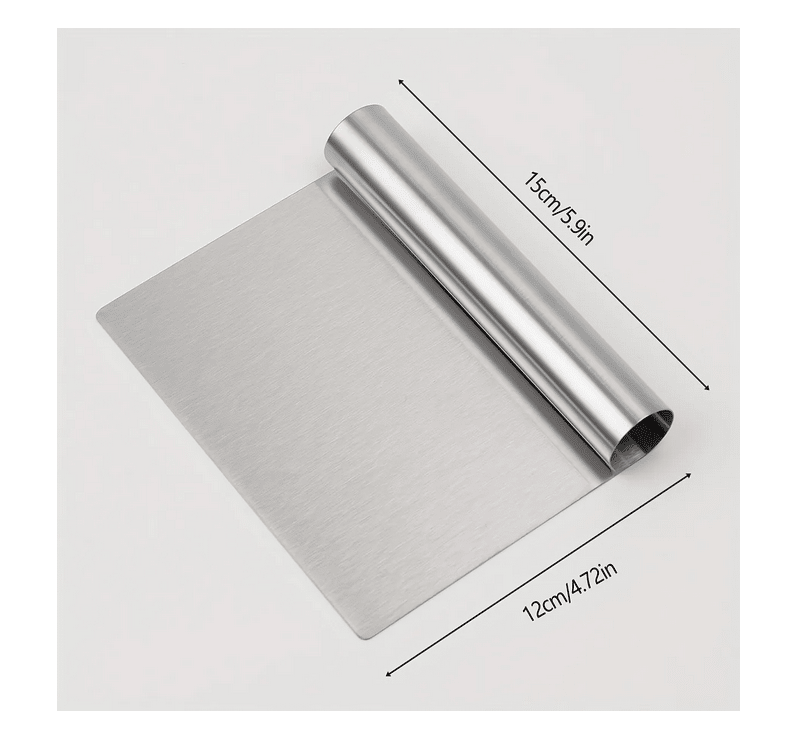
bench scraper - as the name suggests, this tool scrapes the workspace clean and gathers the biscuit dough for layering. can also be used to cut biscuits into squares (my preference) and other shapes.
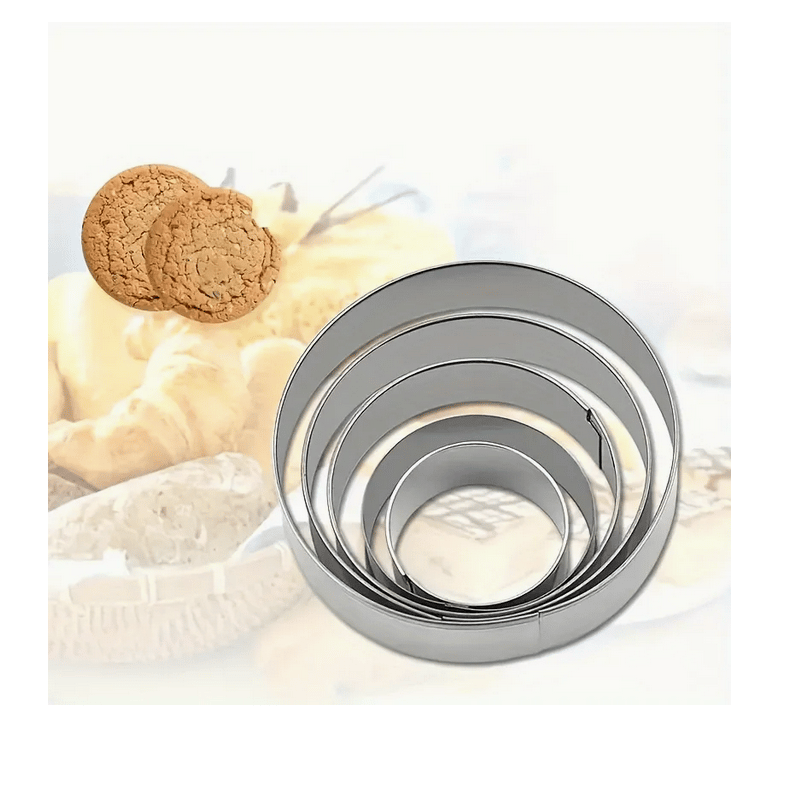
biscuit cutter - used to cut biscuits into desired shape. you can also use cookie cutters, but because of the thickness of the average biscuit and how thin cookies usually are, expect the dough to be a little compressed around the edges.
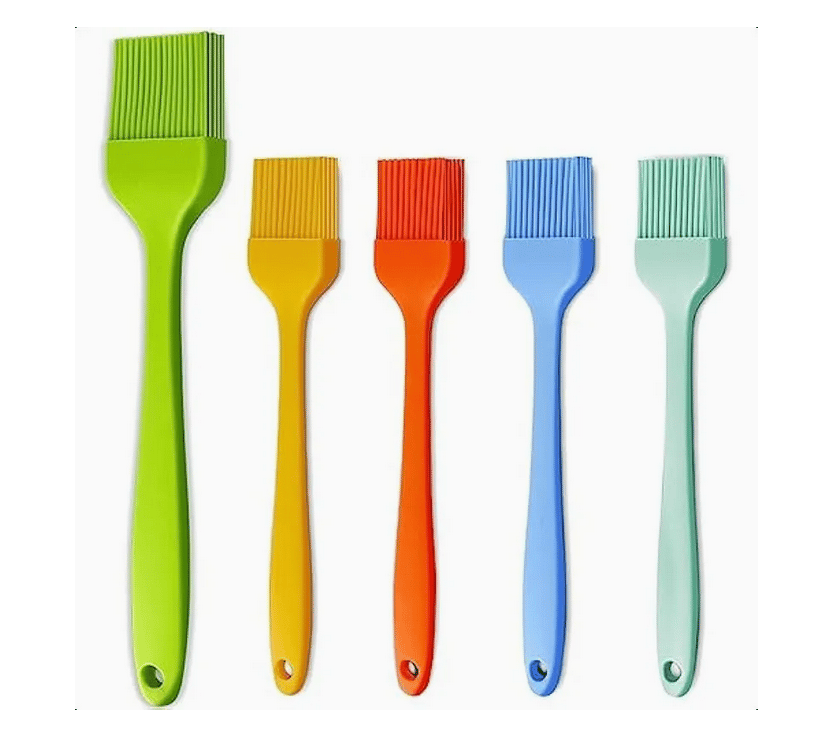
pastry brush - used to apply buttermilk or an egg wash for a perfectly golden brown biscuit. mix egg with a splash of water, milk, or cream to create an egg wash that will help brown your biscuits. TIP: for even more browning power, add a pinch of baking soda to the buttermilk/egg wash mixture.

(optional) food processor - if you want to cut the butter into the flour using a food processor, use short pulses to get the job done. prolonged processing can result in a gummy mixture and even gummier biscuits.
bonus! - I ran across this biscuit making set that includes everything you need, and I’m sure there are hundreds of others if you want to switch up the style/color.
and a note about the product links: while amazon isn’t my preferred corporation by far, I know price / accessibility are sometimes major concerns when trying to buy supplies for your kitchen. the tools listed can be found almost anywhere that sells cookware.
what's next?
you can take some time to gather everything you need or keep going with lesson #2. we'll dive into the standard ingredients used to make a simple biscuit dough. later in the series, I'll be sharing ways to customize biscuits and make them your own as well as some expert tips and tricks for making biscuits every time.
can't wait to share everything I've learned about biscuit-making in the last 10+ years. let's get started!
see you in the next post,
Lena B. aka "The Biscuit Lady"